by Dianna Hrabovsky
We will refer to the computer as a Pi.
The processor is the Broadcom BCM2835 System-on-Chip (SoC) Multimedia Ptrocessor. The majority of the system components are built onto the single component beneath the memeory chip at the center of the board. The memeroy chip is 250 MB.
The system uses an instruction set architecture (ISA) known as ARM. This system is used mostly for mobile devices (tablets and smart phones).
ARM combines a reduced-instruction set computing (RISC) with a low-power draw to allow for complex-instruction set computing architecture (SISC).
The system operates on a 5V, 1 A, power supply provided by an onboard micro-USB port. This makes it so that it does not get hot enough to need heat sinks.
Normal PC, x86-based, software will not run on it. The system uses an open-source Linux.
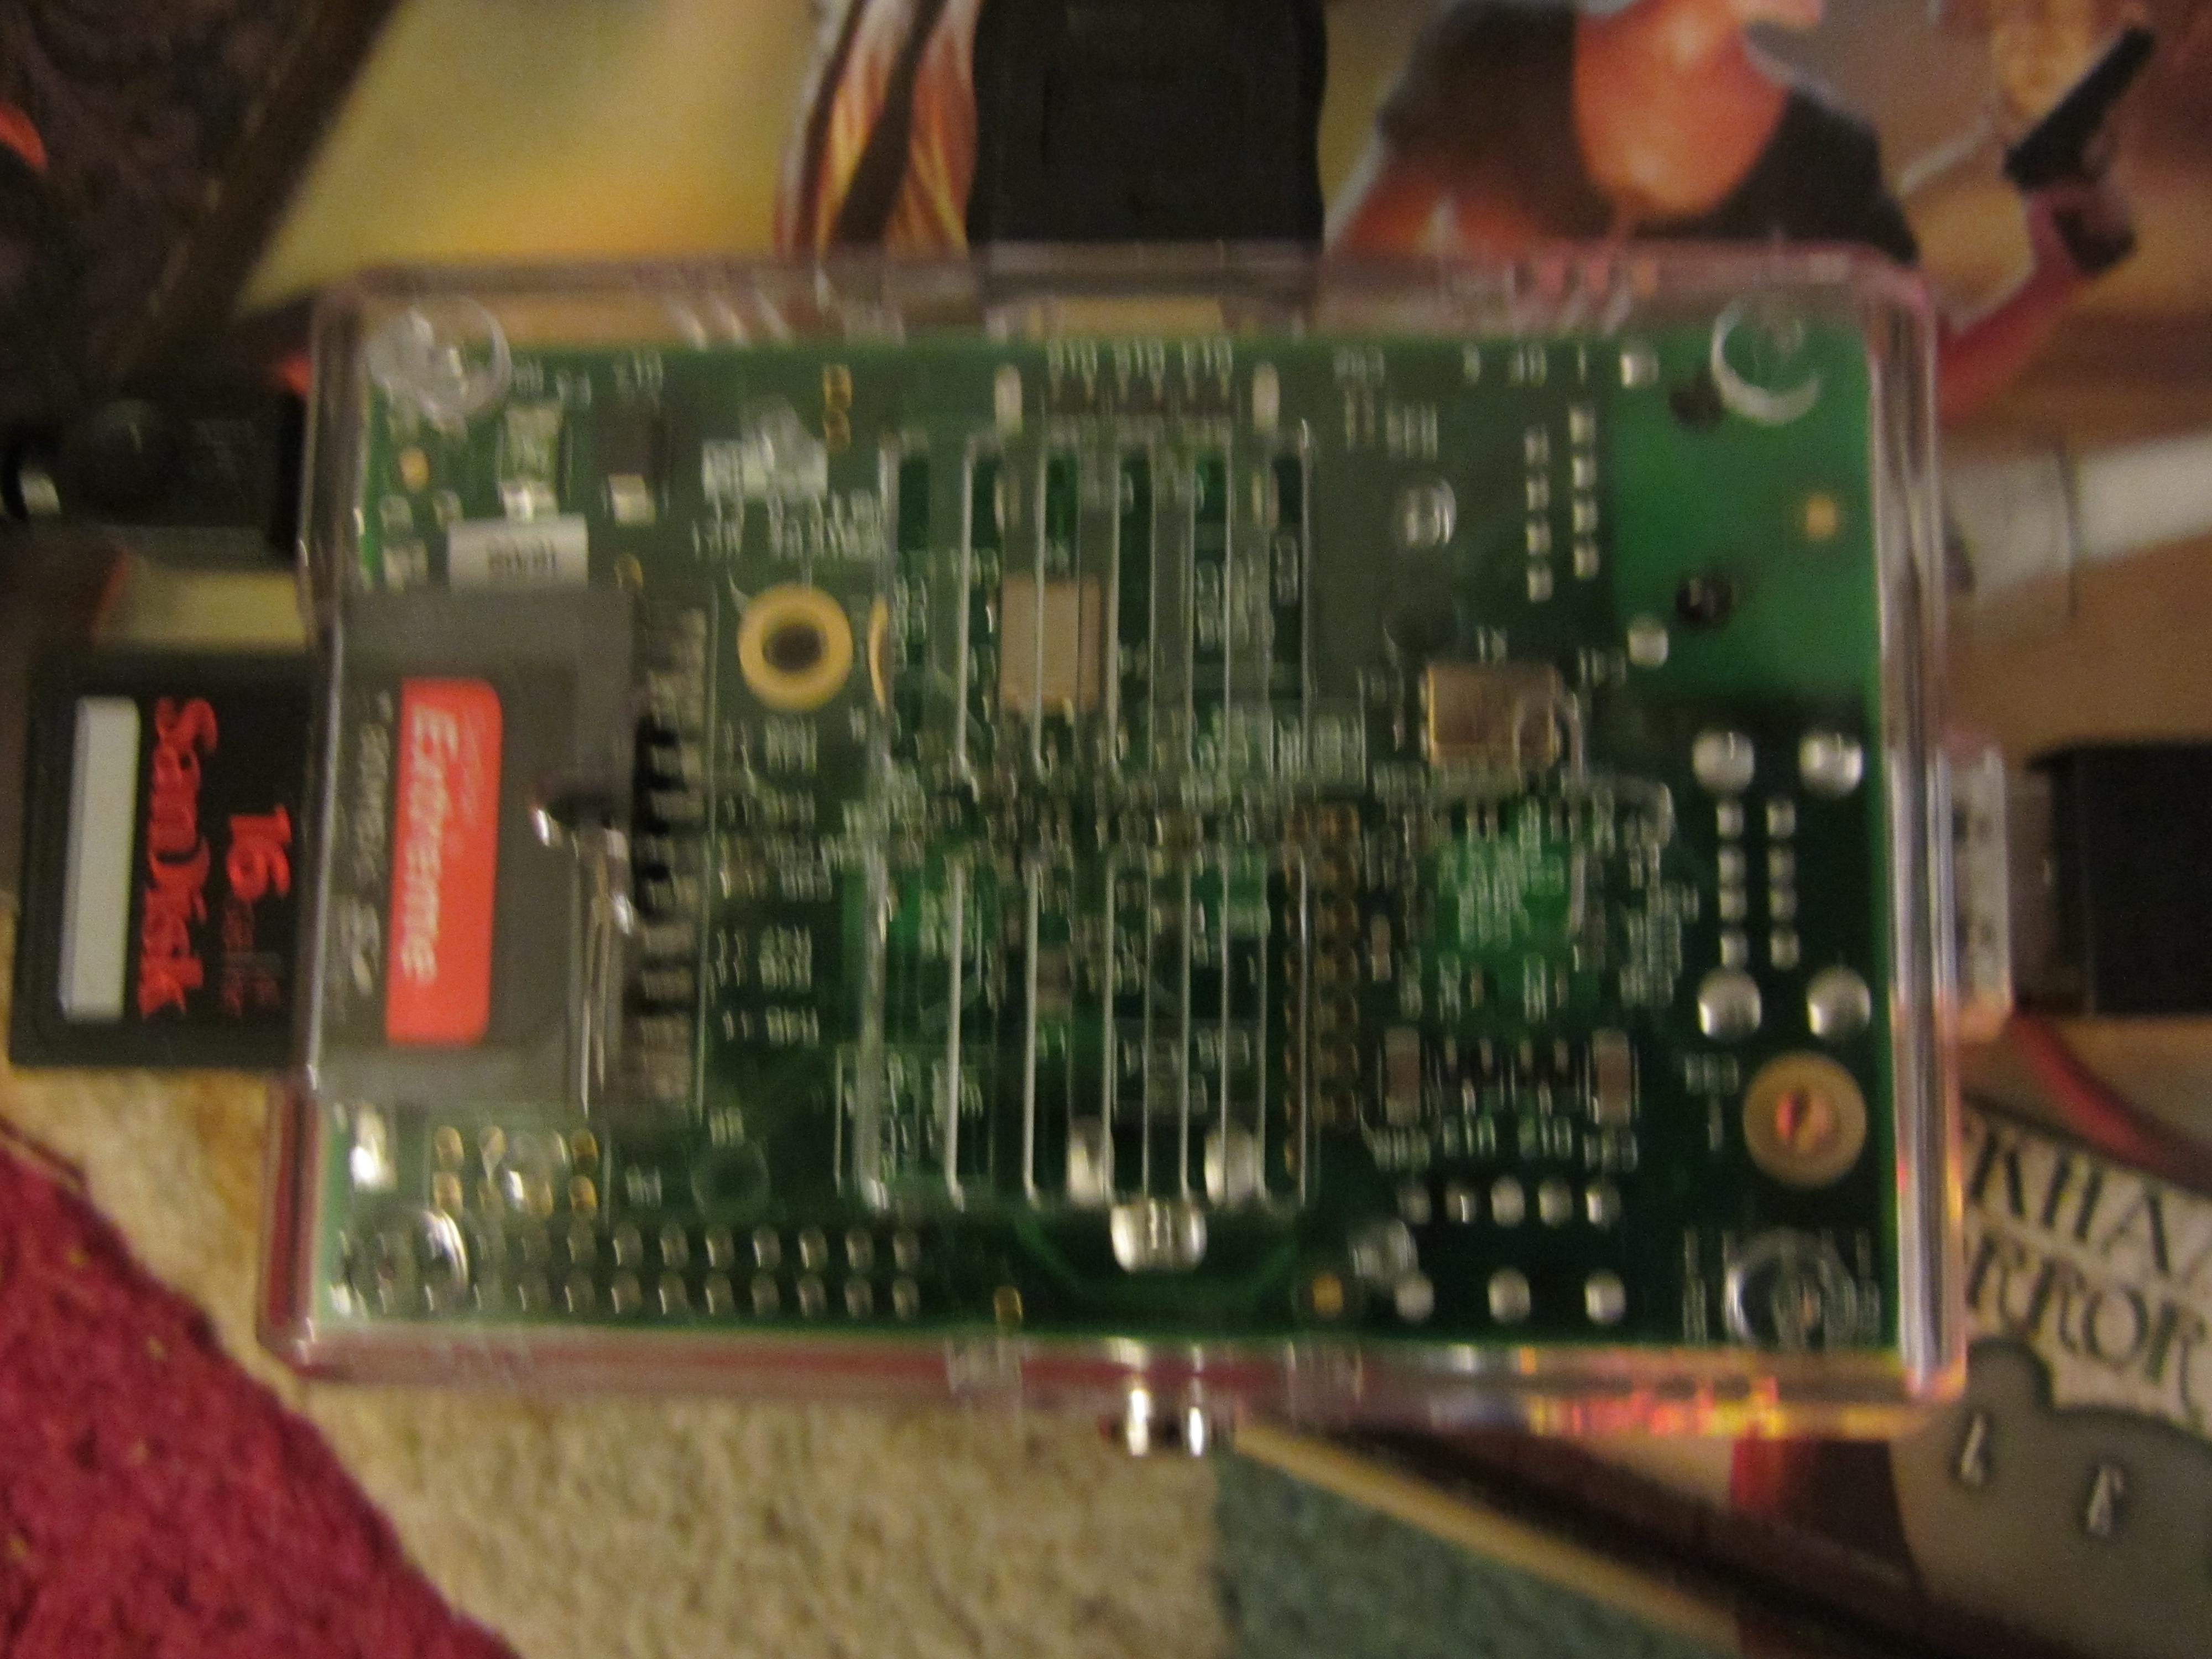
Top View
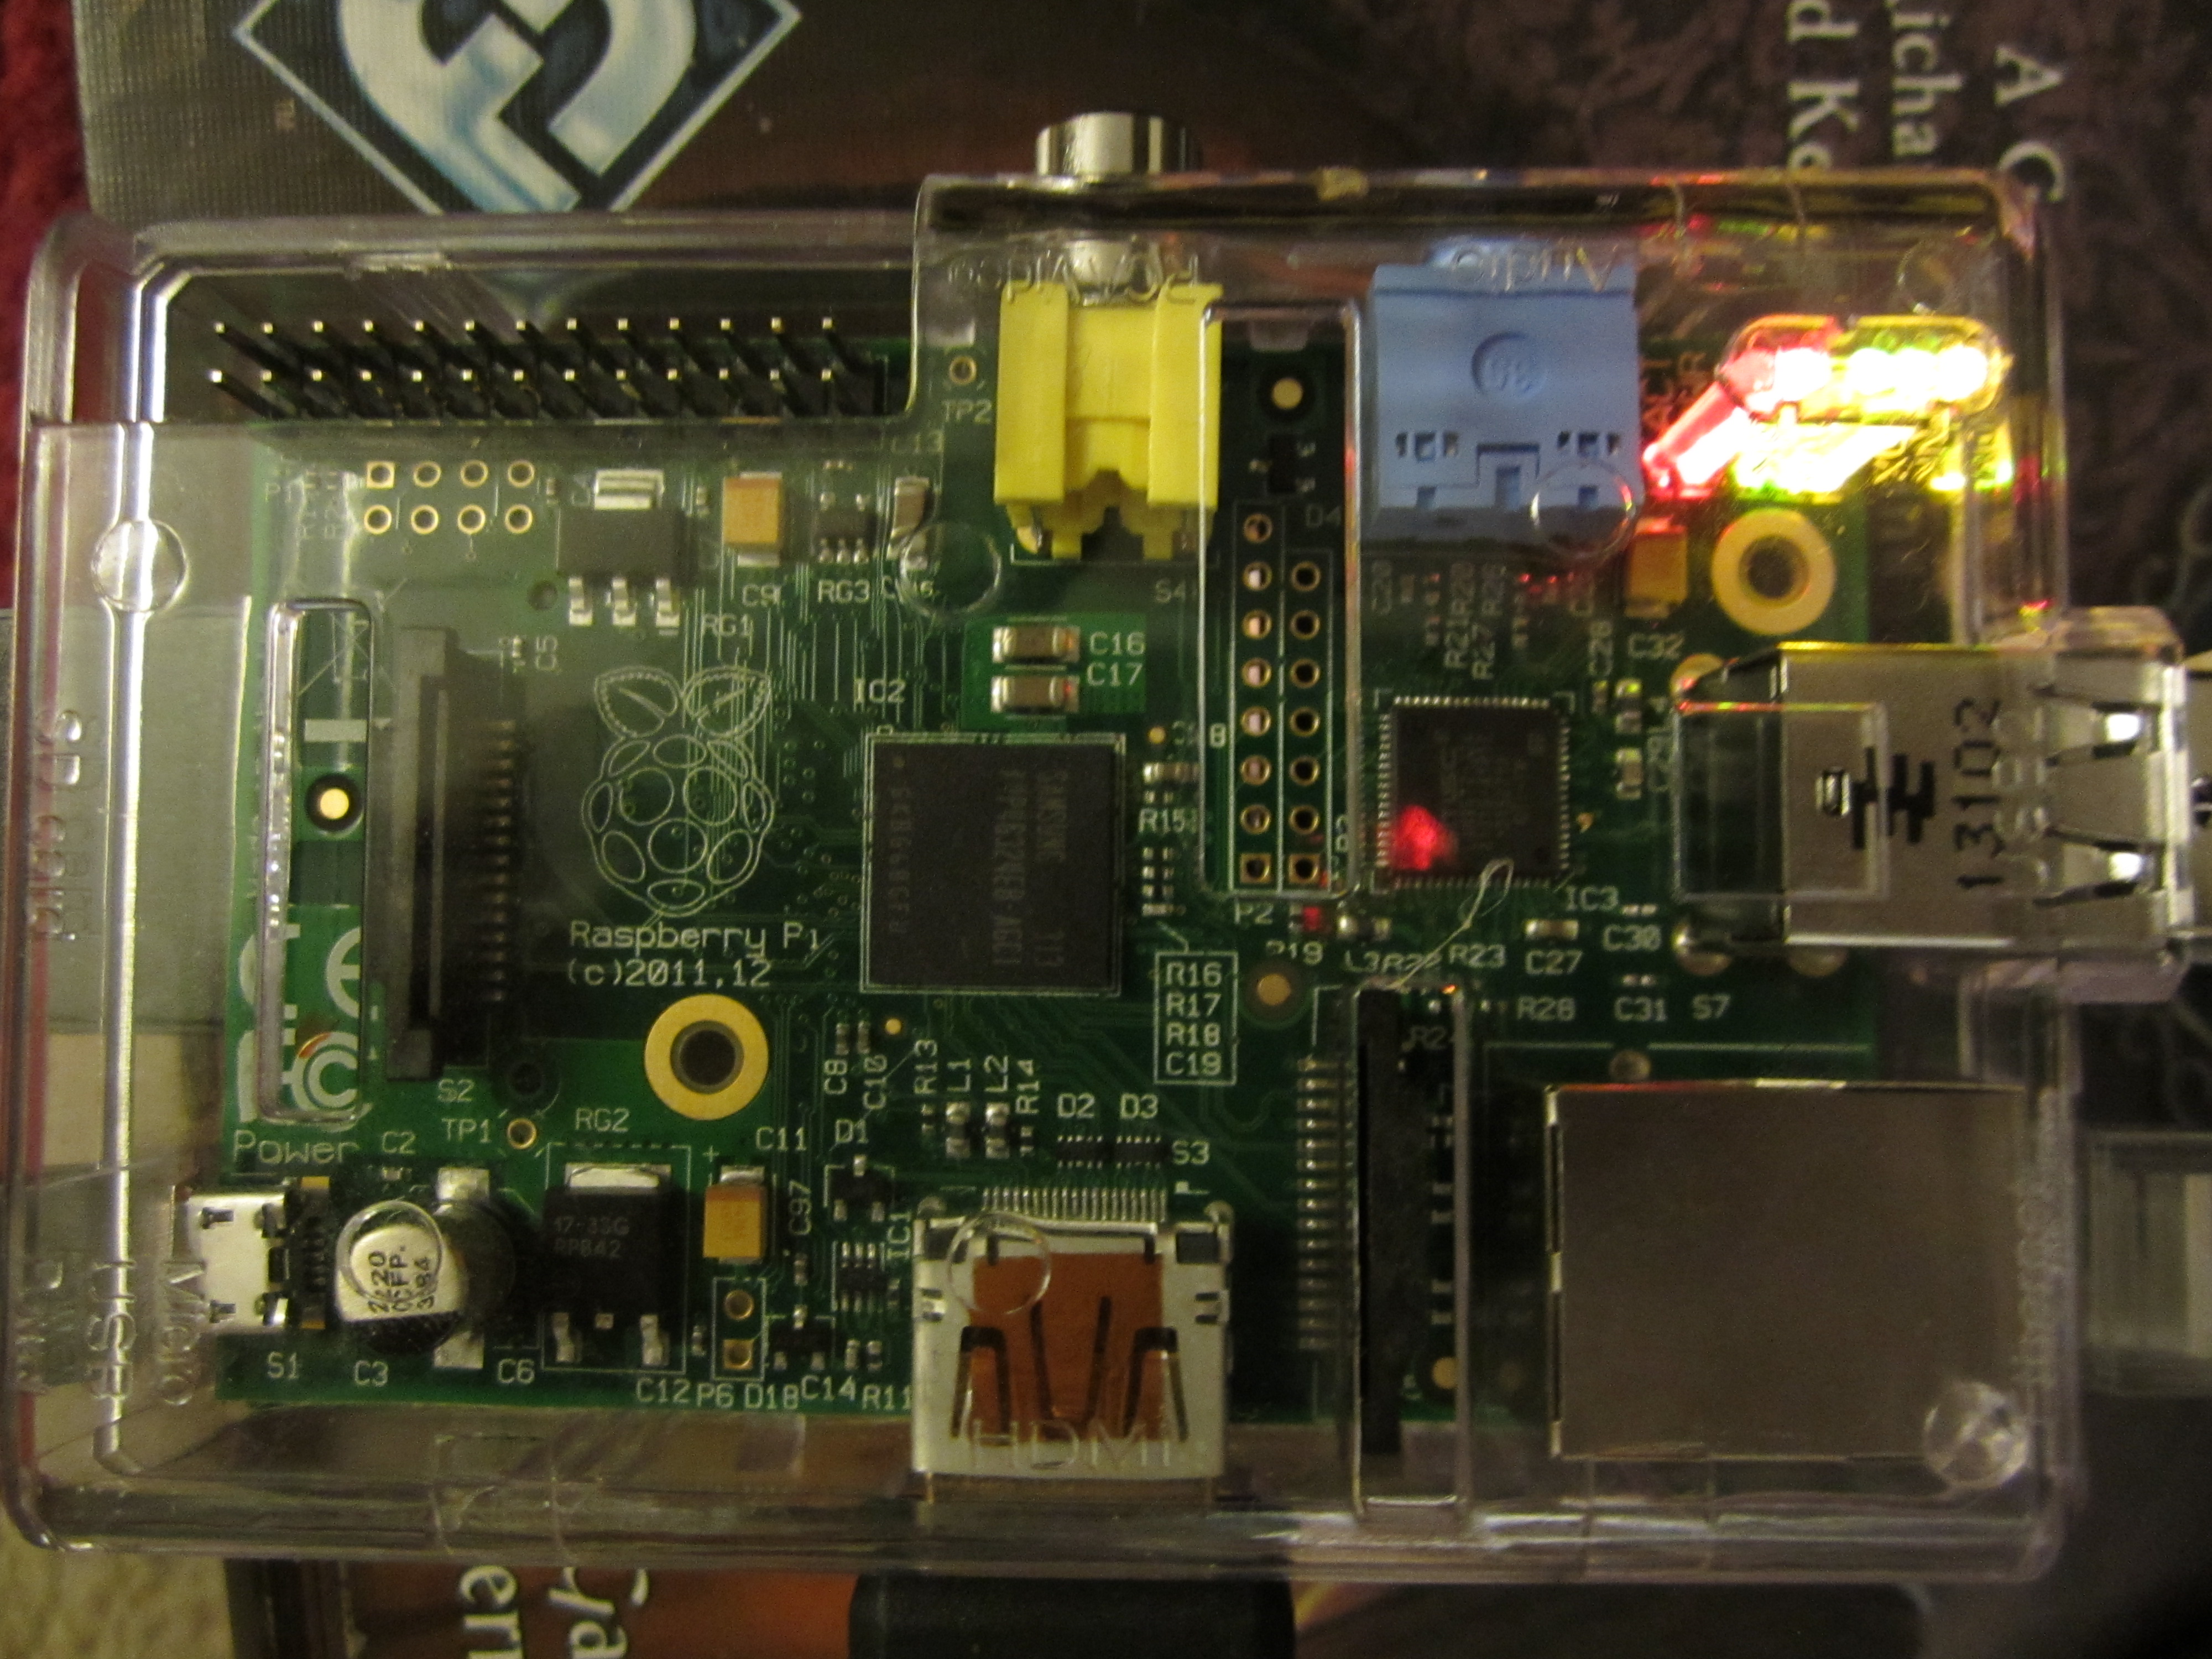
Bottom View
The yellow box on the bottom view is the RCA Phono Connector. This is not good quality, it allows for the normal RCA-style monitor and sound connections.
The middle connector on the top of the Top View is the HDMI. This is the best option for connecting to a monitor or hi-def TV.
These connections can be used for sound, too. The blue box next to the RCA ports are an audio out, and can connect head phones.
This model has 2 USB ports, so you can plug in a keyboard and mouse. You can also use a powered hub and connect hard drives and cd rom devices, etc. If your hub is capable of 700mA power it can power the computer and you need not plug it in direct.
This model also has an ethernet port on the lower right side of the Bottom View.
The Pi does not have a hard drive.
It uses SD cards as storage devices, and you need at least 2 GB. It comes with one having 4 GB.
You can see the SD card on the left side in the Top View.
The Pi comes with a preloaded SD card. We decided to get our own fast 16 GB SD card. We went to the Raspberry Pi foundation site quick start guide, here, and followed the directions. We chose to download the SD card formatting software onto a PC. We then reformatted the SD card from the PC. We downloaded the NOOB software onto a PC that was handy, and then copied it to the SD card.
We chose the Raspian OS.
Be aware that once you choose an OS it will overright the SD card. This is okay, but is one reason why you might want to use a different SD card.
When the system was being configured we followed the on-screen directions and chose to open from the X-Windows-like GUI.
Look in your Education icon to see if the Wolfram langauge is there. If not follow this procedure:
To perform Linux commands you need to open the LXTerminal icon. Open the LXTerminal
Make sure you have connected an Ethernet cable and are on the Internet.
Then type ls
this gets you to the right place in the system. Now you need to force an update and get the Wolfram engine.
Type this:
sudo apt-get update && sudo apt-get install wolfram-engine
then hit enter and stand back while things load. We agreed to the terms and then it was there. We did not have the Mathematica icon in Education, so we opened another LXTerminal and typed in mathematica, hit enter, and it opened right up. That was all.
Click here to return to the Winter School page.
Click here to return to the home page.